Introduction
A custom slipcase is not just armor for your book—it is a stage. On a crowded shelf, a well‑designed slipcase stops the eye, invites a second look, and elevates the book inside from “owned” to “displayed.”
But many people stop at plain cloth in a single color. That is a missed opportunity.
Now that we have learned “Measuring for Perfection: How to Properly Size a Custom Book Slipcase“, its time we also learn how to design one.
This article reveals ten design techniques—from subtle to showstopping—that transform a functional slipcase into a work of art. Each idea balances aesthetics with practicality, because a beautiful slipcase that damages the book is no victory.
Whether you are designing for your own collection, for a client, or as a gift, these techniques will set your work apart.
Foil Stamping: The Classic Elegance
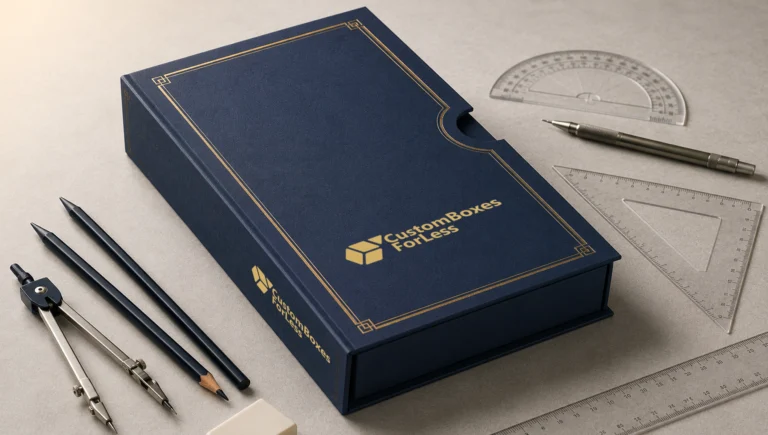
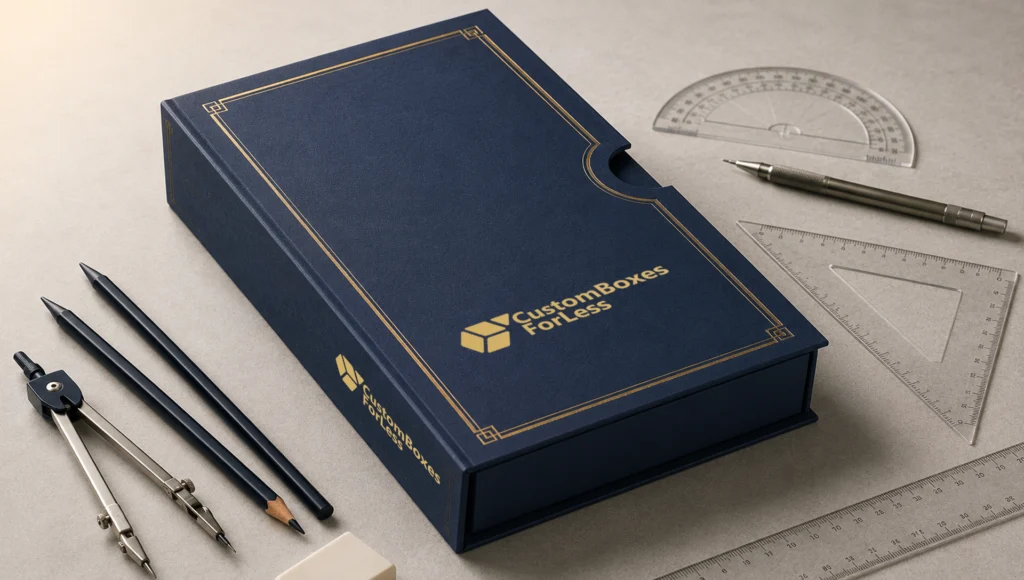
Foil stamping is the gold standard (literally) for slipcase decoration. A heated die presses metallic or pigmented foil into cloth, paper, or leather, creating a crisp, permanent impression.
What You Can Stamp:
| Element | Example |
|---|---|
|
Title |
“Moby Dick” on spine or front panel |
|
Author Name |
“Dickens” in small elegant script |
|
Publication year |
“1851” or “First Edition” |
|
Publisher logo |
A custom crest or monogram |
|
Decorative rule lines |
Borders, dividers, corner ornaments |
Foil Colors That Work:
Gold – Traditional, warm, works on dark cloth (navy, burgundy, black, forest green)
Silver – Modern, cool, pairs well with gray or white cloth
Copper / bronze – Vintage feel, excellent on brown or cream
Matte black – Understated luxury on light cloth
White – Striking on dark cloth or leather
Holographic / rainbow – Bold and contemporary (use sparingly)
Foil Colors That Work:
Less is more. A single well‑placed title stamp often looks better than three different elements.
Leave breathing room. Keep foil at least 10mm away from edges and any cutouts.
Consider the spine vs. front panel. For slipcases displayed spine‑out, stamp the spine. For coffee table display, stamp the front.
Use foil only on flat, rigid surfaces. Wrinkled or soft cloth will not hold a clean impression.
Cost Reality:
Adding foil stamping to a custom slipcase typically adds 15–15–50 per case (one‑off), depending on die setup. If you make multiple identical cases, the die becomes a one‑time cost (30–30–100) and per‑case cost drops to a few dollars.
Window Cutouts: A Peek Inside
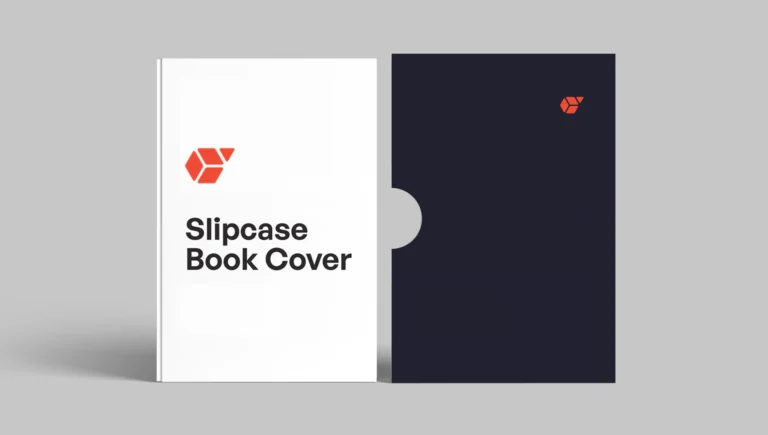
A window cutout reveals part of the book’s cover through the slipcase. It is a powerful technique that creates interaction and curiosity.
| Shape | Effect |
|---|---|
|
Rectangle |
Clean, modern, frames a title or author name on the book cover |
|
Circle or oval |
Softens the design, ideal for a decorative emblem or portrait |
|
Keyhole or arch |
Antique or gothic feel, excellent for classic literature |
|
Custom die‑cut |
Unique shapes (e.g., a fish for a marine biology book) |
Best Practices for Window Cutouts:
Reinforce the edges. Raw board edges look unfinished and fray over time. Paint the edges with matching acrylic paint, or line them with a contrasting cloth strip.
Position carefully. Measure exactly where the book’s cover design sits. A window that reveals blank endpaper is disappointing.
Keep it small (relative). A window should occupy no more than 30–40% of the panel surface. Larger windows weaken the structure.
Pair with a ribbon pull. Windows encourage people to open the slipcase. A ribbon pull prevents them from shaking or prying the book out.
Best Books for Window Cutouts:
Books with illustrated covers
Signed editions (reveal the signature)
Books with embossed or gilt cover designs
Books with a distinctive endpaper pattern (reveal the inside front cover)
Spine Labels and Label Holders
Even when a slipcase is shelved spine‑out (the most common orientation), you can add personality with a dedicated label.
Label Holder Styles:
| Style | Description |
|---|---|
|
Recessed panel |
A shallow rectangular depression in the spine where a paper label sits flush. |
|
Decorative frame |
A stamped or inlaid border around the label area. |
|
Window label holder |
A clear plastic sleeve affixed to the spine (modern, replaceable). |
|
Painted label |
Hand‑lettered or painted directly on the cloth (requires skill). |
What to Put on the Label:
Book title and author
Volume number (for multi‑volume sets)
A custom call number (for library aesthetics)
A symbol or monogram (for personal collections)
Material for Labels:
Acid‑free paper – Handwritten or printed, replaceable
Vellum or parchment – Traditional, durable
Leather patch – Burned or stamped, very rugged
Brass or aluminum plate – Industrial, permanent (screwed or glued)
Pro Tip:
If you use a recessed label holder, make the recess 0.5mm deeper than your label material’s thickness. A label that protrudes catches on neighboring books and peels over time.
Inlays and Onlays: Adding Texture and Contrast
An inlay is a piece of material (leather, cloth, paper, wood) set into a recess cut into the slipcase surface. An onlay is glued on top without a recess. Both add tactile and visual richness.
Popular Inlay Materials:
| Material | Effect | Difficulty |
|---|---|---|
|
Contrasting cloth |
Subtle texture difference (e.g., linen inlay on buckram) |
Medium |
|
Thin leather |
Luxurious, warm to touch |
High |
|
Paper marbling |
Artistic, unique patterns |
Low |
|
Wood Veneer |
Natural, Dramatic |
High |
|
Metal Sheet (Brass, Copper) |
Industrial, Modern |
Very High |
Where to Place Inlays:
Spine – A vertical strip of leather on a cloth case.
Corners – Leather corner protectors (historical look).
Center of front panel – A circular or shield‑shaped inlay.
Edges – A thin contrasting band along the opening edge.
Design Rule for Inlays:
Use no more than two materials per slipcase (not counting the base cloth). Three materials begin to look chaotic unless very skillfully composed.
Ribbon Pulls as Decorative Features
A ribbon pull is functional—it helps remove the book—but it can also be beautiful. Most people use plain white or cream ribbon. Do not settle.
Ribbon Options for Visual Impact:
| Type | Effect |
|---|---|
|
Grosgrain |
Ribbed texture, classic, holds knots well |
|
Satin |
Shiny, elegant, but can slip under glue |
|
Silk |
Luxurious, soft, expensive |
|
Velvet |
Plush, unusual, best for very high‑end cases |
|
Printed Ribbon |
Custom text or pattern (e.g., a tiny repeating star) |
Color Coordination:
Match the cloth – Subtle, cohesive.
Contrast with cloth – Bold (e.g., red ribbon on a navy case).
Match the book’s endpapers – A clever, thoughtful detail.
Ribbon Placement:
Standard – Glued to the inside back panel, extending 30–40mm beyond the book’s fore‑edge.
Double ribbon – Two ribbons (one near top, one near bottom) for very thick books.
Beaded ribbon end – A glass or metal bead tied to the ribbon end for grip and decoration.
Important:
Use ribbon made of natural fibers (cotton, silk) or synthetic labeled “archival.” Some cheap polyester ribbons contain dyes that bleed or acids that damage adjacent book covers over decades.
Raised Bands: The Antique Spine Look
Raised bands are horizontal ridges on a book spine, originally created by the cords used to sew signatures. On a slipcase, they are purely decorative—but they evoke craftsmanship and tradition.
How to Create Raised Bands on a Slipcase:
Cut thin strips of cardboard (2–3mm thick, 5–10mm wide).
Glue them horizontally across the slipcase spine panel at regular intervals (e.g., three bands: one near the top, one middle, one near the bottom).
Cover the entire spine with cloth or leather as usual. The bands show through as raised ridges.
Optionally, stamp foil on each band (e.g., a thin gold line).
Best Book Types for Raised Bands:
Classic literature (Dickens, Austen, Tolstoy)
Religious texts (Bibles, prayer books)
History or philosophy volumes
Any book you want to look “old world”
Modern Variation:
Instead of traditional bands, use a single wide horizontal band near the top or bottom of the spine. This gives a subtle architectural feel without being overly antique.
Painted or Printed Edges
Most slipcases have plain, undecorated edges where the board is visible. That is wasted real estate.
Edge Decoration Techniques:
| Technique | Description | Skill Level |
|---|---|---|
|
Edge Painting |
Apply acrylic paint to the top, bottom, and fore‑edge of the slipcase boards |
Beginner |
|
Marbled edges |
Dip the board edges in marbling size (same as book edge marbling) |
Intermediate |
|
Gilded edges |
Apply gold leaf to board edges (very dramatic) |
Expert |
|
Stenciled pattern |
Use a stencil and sponge to add a repeating design |
Beginner |
Color Matching Ideas:
Paint the edges to match the book’s page edges (e.g., red‑edged pages → red slipcase edges).
Paint edges black to hide dust and wear (practical).
Use a contrasting color that appears nowhere else on the slipcase as an intentional accent.
Important:
Seal painted edges with a clear acrylic sealer (matte or gloss). Unsealed paint chips off and creates debris inside the slipcase.
Hinged or Split Construction
Most slipcases are simple rigid boxes. A hinged or split design adds structural interest and can solve specific display problems.
Hinged Slipcase (Clamshell Hybrid):
A standard slipcase with a hinged top panel that lifts open, like a clamshell box but with one open side remaining.
Best for: Books with fragile fore‑edges or very thick volumes that are heavy to slide.
Split Slipcase (Two‑Piece):
The case separates into two L‑shaped halves that wrap around the book from top and bottom, meeting in the middle.
Best for: Extremely large or heavy books (coffee table art books) where a single rigid case would be too heavy to handle.
Decorative Potential:
Use contrasting cloth on the two halves.
Add ribbon pulls to each half.
Foil‑stamp each half with different information (e.g., title on top half, author on bottom).
Custom Corner Treatments
Corners are often overlooked, but they are the first place wear shows. Decorative corners protect and beautify simultaneously.
Corner Styles:
| Style | Description |
|---|---|
|
Mitered |
Clean, professional, standard for fine binding |
|
Rounded |
Soft, friendly, less likely to fray |
|
Metal corners |
Brass or nickel corners (screwed or glued) – very durable, antique look |
|
Leather corner caps |
Small leather triangles glued over raw board corners |
|
Painted corners |
A contrasting color painted just on the corner triangles |
When to Use Metal Corners:
For books that will be heavily handled (library reference, daily use).
For a steampunk or industrial aesthetic.
For travel cases (books carried in bags).
When to Avoid Metal Corners:
For fine, delicate, or very valuable books (metal corners can scratch adjacent books on a shelf).
For slipcases stored tightly side‑by‑side (metal bites into neighboring cases).
Themed and Custom Die Shapes
Move beyond the rectangle. A slipcase does not have to be a boring box.
Non‑Rectangular Slipcase Shapes:
| Shape | Book Type |
|---|---|
|
Hexagonal |
Special edition of a book about bees, snowflakes, or geometry |
|
Arched top |
Religious or ceremonial books |
|
Slanted (parallelogram) |
Avant‑garde poetry or art books |
|
Keyhole silhouette |
Mystery or detective novels |
Practical Limits:
Any shape other than a rectangle is much harder to construct by hand.
The book inside is still rectangular. The slipcase exterior can be decorative, but the interior must be square and true.
Non‑rectangular cases do not stack well. They are for single, display‑only books.
Partial Die‑Cut:
Instead of reshaping the whole case, cut a decorative silhouette into the front panel only (e.g., a tree shape cut out, revealing the book cover behind it). This is a window cutout taken to an artistic level.
Bringing It All Together: A Design Checklist
Before finalizing any slipcase design, ask yourself:
Does the design serve the book? (Or does it compete?)
Will this design hold up to handling? (Fragile inlays on a daily‑reader?)
Are all materials archival? (No acidic glues or fading dyes?)
Can this design be executed at my skill level? (Or should I commission a pro?)
Does the design work in both display orientations? (Spine‑out and front‑out?)
Real‑World Combinations (Inspiration)
Here are three powerful design combinations using multiple techniques:
The Collector’s Classic:
Navy buckram cloth
Gold foil title on spine
Two raised bands
White grosgrain ribbon pull
Mitered corners
The Modern Minimalist:
Gray linen cloth
Matte black foil title on front panel only (no spine decoration)
One large window cutout (square)
No ribbon (use finger notch instead)
Rounded corners
The Art Book Showstopper:
Cream cloth
Copper foil decorative border
Circular window revealing the book’s cover art
Red velvet ribbon pull
Painted edges in matching red
Conclusion
A custom slipcase is a functional object first, but beauty and function are not enemies. The ten techniques in this article—foil stamping, window cutouts, inlays, ribbon pulls, raised bands, edge decoration, hinges, corner treatments, custom shapes, and labels—give you a rich vocabulary for expression.
Start with one technique. Master it. Then add another. The best slipcase designers did not learn everything at once.
And remember: The most beautiful slipcase in the world fails if it does not protect the book. Design with care, build with archival materials, and your slipcase will be admired for decades—not just days.