Introduction
A custom book slipcase is more than a protective sleeve. It is a statement of care, a preservation tool, and an art form. For collectors, authors, and book lovers, a well-made slipcase transforms a cherished volume into a heirloom.
But what actually goes into a custom slipcase? Beneath the cloth, board, and glue lies a precise structure built on centuries of bookbinding tradition. Understanding the anatomy of a slipcase helps you make better decisions—whether you are commissioning one, building your own, or selling custom cases to clients.
This guide breaks down every component: materials, construction methods, design choices, and the subtle details that separate amateur work from professional craftsmanship.
The Purpose of a Slipcase
Before examining parts, it helps to understand function. A slipcase serves three primary roles:
- Physical protection – Shields books from dust, light, shelf wear, and minor impacts.
- Structural support – Prevents leaning, spine rolling, and cover warping, especially for oversized or heavy books.
- Aesthetic enhancement – Elevates a book’s perceived value and creates a cohesive look on a shelf.
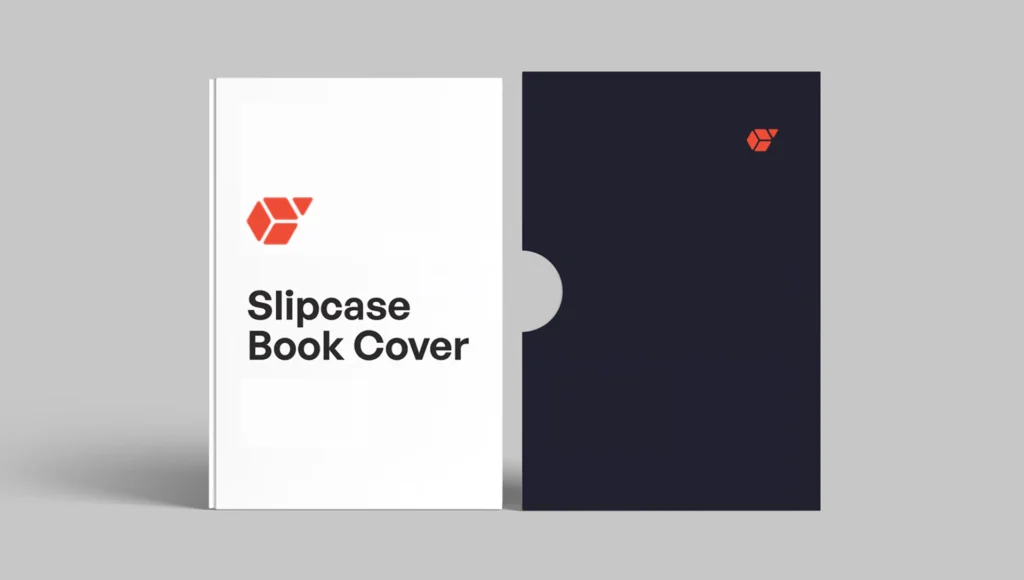
Unlike a clamshell box (which encloses a book entirely), a slipcase leaves the spine exposed. This trade‑off prioritizes easy access while still protecting the fore‑edge, top, bottom, and covers.
Apart from this guide, you can also check our article about “6 Different Types of Book Slipcases: Which One Is Right for You?” to gain more insight about the different types of custom book slipcases that will be perfect for you.
Core Materials Used in Custom Slipcases
1. Board (The Skeleton)
The rigid frame of any slipcase is acid‑free bookbinding board (also called binder’s board or Davey board). Thickness typically ranges from 1.5mm to 3mm.
1.5–2.0mm – Suitable for small paperbacks or thin hardcovers.
2.5–3.0mm – Standard for most hardcover books and collectible editions.
3.5mm+ – Used for very heavy art books, ledgers, or family bibles.
Why acid‑free matters: Regular cardboard or chipboard contains lignin and acids that yellow, become brittle, and transfer stains to book covers over years. Archival board has a neutral pH (7.0–8.5) and passes the Photographic Activity Test (PAT).
2. Covering Material (The Skin)
The exterior can be any flexible material wrapped around the board. Common options:
| Material | Pros | Cons |
|---|---|---|
|
Book cloth |
Durable, wide colors, acid‑free available |
Can be expensive |
|
Paper |
Cheap, printable, easy to work with |
Low durability, stains easily |
|
Leather (real) |
Luxurious, ages beautifully |
Very expensive, requires skill |
|
Leatherette / PU |
Leather look at lower cost |
Less breathable, can peel |
|
Fabric (linen, cotton) |
Soft texture, natural look |
Absorbs dirt, needs sealing |
For most custom work, starched book cloth (buckram or library cloth) offers the best balance of durability and workability.
3. Adhesives (The Bond)
PVA (polyvinyl acetate) glue is the industry standard. It remains flexible after drying, bonds strongly to board and cloth, and is acid‑free when properly formulated. Avoid generic white craft glue—it can become brittle or yellow.
To learn more about the slipcases we offer, click here.
4. Reinforcement Materials
Kraft paper – Used for inner hinges and spine lining.
Muslin or super cloth – Adds tensile strength to the case joint.
Cardboard strips – Create raised bands or decorative spines.
Structural Anatomy of a Standard Slipcase
A traditional slipcase has five main parts:
1. The Case (Outer Shell)
This is the visible body—four sides (top, bottom, left, right) that form a U‑shape or full rectangle. The case must be cut precisely so the book slides in without scraping.
2. The Spine Panel
On a slipcase, the spine panel is the narrow vertical face that sits opposite the book’s spine when inserted. Wait—that sounds confusing. Let me clarify:
Book spine – The back edge of the book you see on a shelf.
Slipcase spine – The narrow side of the slipcase that faces outward, covering the book’s fore‑edge (the side opposite the book’s spine).
In other words, when a book is shelved inside a slipcase, the book’s spine is visible, and the slipcase’s opening faces the shelf user. This is opposite to a slipcase for a DVD box set, where the spine of the case faces out.
Proper terminology matters. A book slipcase is essentially a rigid sleeve open on one long side (the spine side of the book).
3. The Opening (Throat)
The throat is the edge where the book slides in. It should have a slight bevel or rounded corner to prevent cloth fraying and allow smooth insertion.
4. The Finger Notch (or Ribbon Pull)
Because a slipcase fits snugly, removing the book can be difficult. Most quality slipcases include either:
A finger notch – A semi‑circular cutout on the back panel (near the open side) where you insert a finger to push the book out.
A ribbon pull – A fabric ribbon glued to the back panel’s interior, extending past the book. Pulling the ribbon ejects the book.
For very valuable books, a ribbon pull is preferred because it avoids touching the book itself.
5. The Hinges
Where the slipcase folds (if it is a two‑piece construction) or where the sides meet the top/bottom, hinges provide flexibility. Most custom slipcases are rigid (no moving parts), but some clamshell‑style slipcases have a hinged lid.
Construction Methods: Hand‑Made vs. Machine‑Made
1. Hand‑Bound Slipcases
Process: Board cut, corners mitered or butted, cloth wrapped manually, glued, pressed.
Quality: Excellent if done by an experienced bookbinder. Each joint can be inspected.
Consistency: Varies by skill. Corners may not be perfectly square.
Cost: Higher (labor intensive).
2. Machine‑Made (Case‑Maker Machines)
Process: Automated board cutting, wrapping, and gluing.
Quality: Very consistent, especially for large runs (25+ units).
Consistency: High. Corners are identical.
Cost: Lower per unit after setup.
3. Hybrid (Hand‑finished)
Many custom slipcase makers cut boards by hand or with a guillotine, then use a manual case‑maker (like a small tabletop unit) to wrap cloth. This balances precision with customization.
For single, one‑off slipcases (e.g., a family Bible or a signed first edition), fully hand‑made is the norm.
Design Choices That Define Style
1. Corners
Mitered corners – Cloth folded like a picture frame. Clean, professional, but requires skill.
Butted corners – Cloth wrapped straight over the board edge. Simpler, but exposed board edges can show.
Rounded corners – Board corners sanded to a radius before covering. Softer look, less fraying.
2. Spine Decoration
Even though the slipcase spine faces the back of the shelf, some makers decorate it for when the slipcase is displayed spine‑out:
Foil stamping – Gold, silver, or colored foil pressed into cloth or leather.
Label holder – A recessed area for a handwritten or printed title label.
Raised bands – Thin cardboard strips glued to the spine before covering.
3. Window Cutouts
A cutout in the front panel (the side covering the book’s front cover) lets part of the book’s cover show through. This is popular for:
Displaying a gilt title or author signature.
Showing an embossed publisher’s logo.
Revealing an illustrated cover panel.
The cutout edges must be carefully finished, often with a contrasting cloth inlay or painted edge.
4. Tray and Platform
Some slipcases include an interior tray (a raised floor) so the book sits recessed by a few millimeters. This protects the book’s bottom edge when the slipcase is placed on a shelf.
Without a tray, the book’s bottom cover rests directly on the shelf surface, which can cause wear over decades.
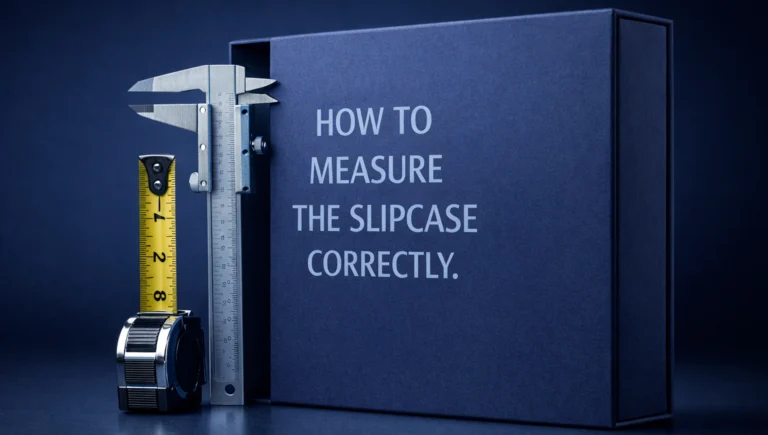
Precision Measurement: Why 1mm Matters
A custom slipcase that is too tight damages the book’s covers and makes insertion impossible. Too loose, and the book shifts, rubbing against the interior.
The golden rule: Add exactly 2–3mm total clearance (1–1.5mm per side) to the book’s height, width, and thickness.
Step‑by‑step measurement:
Height – Measure from top of back cover to bottom of front cover (book closed). Add 2mm.
Width – Measure from spine edge to fore‑edge. Add 2mm.
Thickness – Measure the book’s total spine width. Add 3mm for easy sliding.
Important: Measure with a rigid ruler, not a soft tape. Books swell with humidity. If you live in a humid climate, add +1mm extra to thickness.
Common Mistakes and How to Avoid Them
| Mistake | Outcome | Fix |
|---|---|---|
|
Using non‑archival board |
Brown stains on book covers after 5–10 years |
Always ask for “acid‑free bookbinding board” |
|
Gluing the grain wrong |
Warped slipcase that won’t sit flat |
Test board grain by bending; grain should run parallel to the long dimension of each piece |
|
No finger notch or ribbon |
Book must be shaken out, risking damage to spine |
Always include at least one removal mechanism |
|
Cloth cut too small at corners |
Exposed raw board or fraying |
Leave 15–20mm overlap on all sides |
|
Forgetting to allow for a dust jacket |
Slipcase too tight if book has a jacket |
Measure the book with jacket on, or add 3mm extra width |
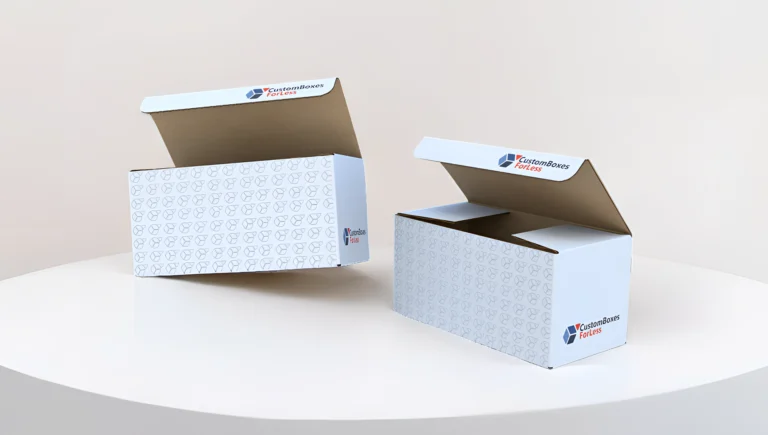
When to Choose a Clamshell Box Instead
A slipcase is not always the right choice. Consider a clamshell box (fully enclosed with a hinged lid) for:
Books with fragile, projecting elements (raised bands, metal corners, onlays).
Leather bindings that need protection from light (slipcase leaves spine exposed).
Loose ephemera (letters, photos) stored with the book.
Extremely high‑value items where even minor dust ingress is unacceptable.
Rule of thumb: If you would be upset by a tiny dust mark on the book’s spine after five years, choose a clamshell box. Otherwise, a slipcase is elegant and sufficient.
Conclusion: The Lasting Value of a Well‑Built Slipcase
A custom slipcase is a small investment that multiplies a book’s lifespan and beauty. By understanding the anatomy—from acid‑free board to finger notches, from grain direction to covering materials—you gain the knowledge to commission intelligently or create confidently.
Whether you are protecting a $50 signed paperback or a $5,000 antique, the principles remain the same. Respect the book, measure twice, cut once, and always prioritize archival quality.
In the next article in this series, we will dive into measuring for perfection: a step‑by‑step guide to avoid common sizing mistakes.